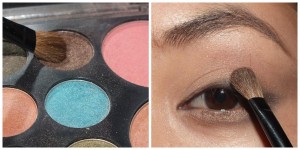
Step 5:

The next thing to do is to take your taupe color and apply that to the outer corner of your eye like a V. The color doesn’t have to be intense because this will serve as a background color.
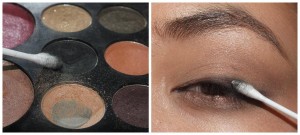
Step 6:
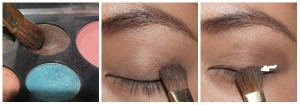
After the light comes the dark. Kind of sounds like a quote but this is where the darker or deeper color comes in. Take a bit of your dark brown of choice and concentrate it on the outer corner of your eye going inwards using a dense fluffy brush.
Take time to blend out the harsh lines.

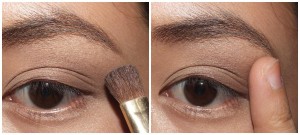
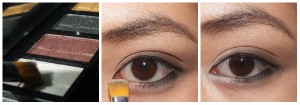
Using a flat brush (for precision), take the darker brown and put a little bit of it on your lower lash-line.
Step 7:
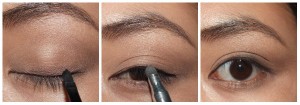
Next, take your black eyeliner and put a line of it on your upper lash-line No need to be neat because you’ll need to blend that out with a smudger brush.
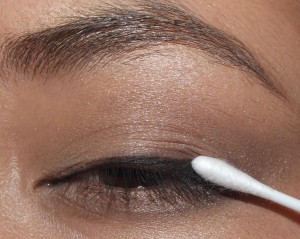
No smudger brush? A q-tip will work just as well, so don’t worry.
Take a bit of black using the q-tip and apply it over the smudged eyeliner.
With a fluffy brush, take the same dark brown color and blend it with the black that you just applied.
Step 8:
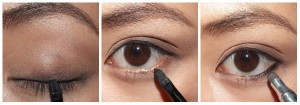
Apply eyeliner on your lower lashline and smudge it out.
Take a light shimmery color and apply it on the inner V of your eye. This will attract more light and hopefully more attention.
Step 9:
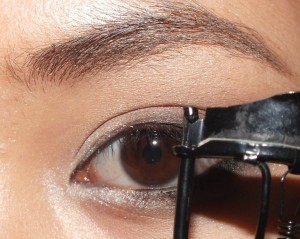
Curl your eyelashes.
Step 10:
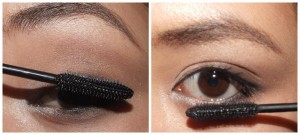
Apply mascara on both lower and upper lashes.
Remember to clean out whatever eyeshadow fall out you have on your cheeks. Once you’ve done this, you’re done with everything! You should have something like…

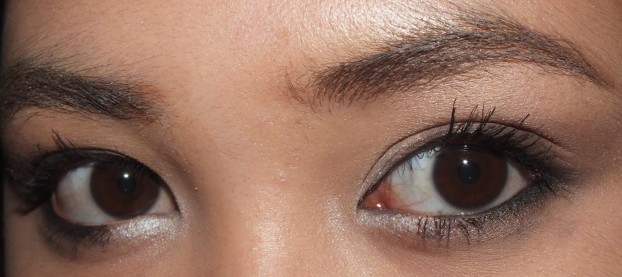
A closer look:
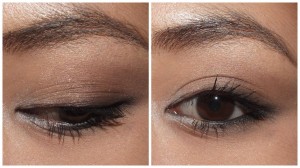
Hazel brown eyes. What about you?
Last minute tip: A successful smokey eye is always the result of proper blending so make sure to practice those blending skills of yours. If you liked this tutorial, please share it with your friends and family on Facebook or Twitter, thanks!


