If you’re not familiar with pore strips (or nose strips) then you probably belong to the lucky group of individuals that don’t have huge black spots on their nose. But, to those who have been through every drug store, trying out every brand of pore strip but not really getting the result they expected, this is for you guys. People who have been using pore strips for years in removing blackheads know what this is all about.
What Usually Happens
You put on your nose strip, carefully reading and following the instructions on the back of it. “Wait for a few minutes until it dries”, says the instructions. During this short wait, you imagine your flawless nose — the black spots being totally gone.
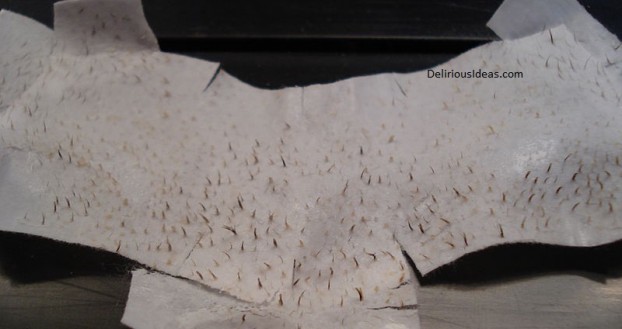
DING! Your timer rings. It’s time to get your strip off. 1-2-3 pull. Again. 1-2-3 pull. You look at it and…not much changed. Those pesky black spots are still there and there hardly any on the strip. What gives??
The Right Routine = The Right Results
Yes, it is a big let down when that happens and know that you are not doing anything wrong. The fact is, the dirt just won’t come out! Not to fret though, here’s a really great routine that you could try to minimize those disappointing moments. Here’s how to use your pore strips or nose strips effectively to remove your blackheads:
Before going to step 1, you’d probably need to heat some water up and just let it boil until you finish doing the first step.
Step 1:
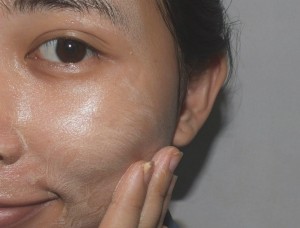
The first thing you need to do is to wash your face. This will remove the oil and dirt from your skin. This will also help your pores open up. It doesn’t really matter what type of soap you’re using as long as it’s facial soap (soap with exfoliants work too). Most body soaps do not have the right formulation to be used on the face.
Step 2

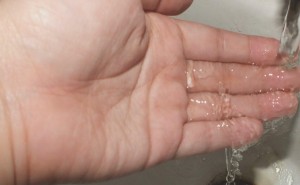
I’m thirsty. No wait, the water isn’t meant for drinking…
This is where we use the boiling, steaming water. NO we won’t splash it directly on our face. What we need is the steam! Grab a bowl to put the water in and allow your face to hover over it for 3-5 minutes.
Step 3
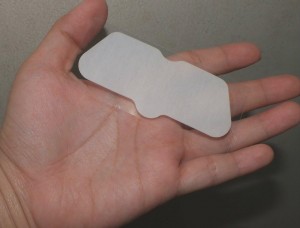
Take the pore strip that you have. And, this is where you follow the instructions on the back. It would be great if you have the bigger kind that covers the sides of your nose.
You have to make sure that you thoroughly wet the area that the pore strip will cover. Water activates the sticky agent on the strip and it will help you mould the strip correctly for a snug fit.
Step 4:
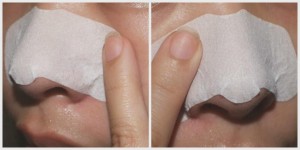
Once you have the strip on, flatten the creases and make sure to really get it on the sides of your nostrils.
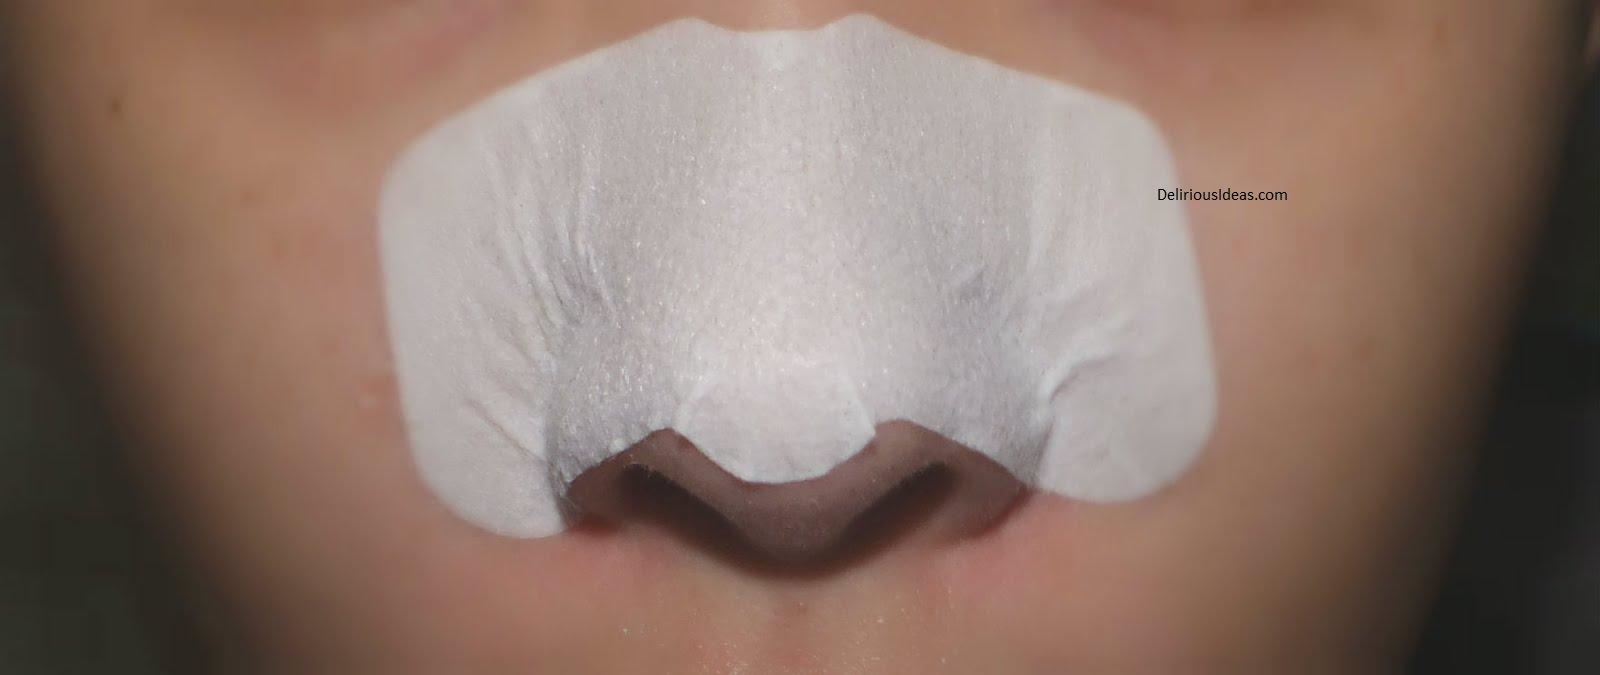
It doesn’t have to be perfect but you do have to make sure that the strip sticks on the areas that count.


